Thursday, 4 November 2010

At last the Birdie Quit is finished!

asAnd so at last the Birdie quilt for Granddad is finished.....this has been a labour of love and I have enjoyed every minute of it...I am quiet sad its now done - that's how much I have loved making it.  I decided to make the quilt for hubbie's Granddad, who is now 88 as he had made us some lovely wooden planters for our garden & I wanted to make something creative for him in return.

The design was based on the Holiday Quilt from the Material Obsession book.  I took the design and made it larger, adding my own backing design and designing my own birdie panels.


I am very proud of this achievement - it is only my second large size quilt (the size of a double bed but no over hang) and its my first go at appliqué, triangles & zig zags! There were no major mistakes, all of the seams joined up nicely and best of all - no puckers (well not that I have spotted any!).

I have never been to a quilt festival (the Houston Quilt Market has just finished & I long to have been able to go) and so I thought I would join in with the Bloggers Quilt Festival and submit my quilt !
Amy's Creative Side - Blogger's Quilt Festival


Now the quilt is all washed, labelled, ironed and I have stored it in the airing cupboard until its time to wrap up for Christmas....sigh.

I have plans for my next few projects in my head...I want to do a stacked coin quilt for HM - I have a lovely collection of Amy Butler Love Fabrics in Jelly roll strips and I have a few ideas for Christmas presents including some table runners and perhaps some more napkins.

One difficulty on the horizon though is what fabric to use for sashing with the Amy Butler Jelly Roll -there are a lot of different colours in the strips & I want to use something that will complement the fabrics but will also allow them to stand out. Also I know that white will go with all of them but I don't think it will have the impact I am after...my initial thoughts were pale green but now I am leaning towards dark grey - Kona solids coal maybe? but that would not be a very girly colour for an 8 year old...more thinking I think!

Saturday, 9 October 2010

so so sorry

so....its been such a long time since I last blogged - I can not believe how quickly the time has flown!

There is so much to say to bring you up to date...

1)  I am still working on the Birdie Quilt I started in the summer - progress has been made;
2) I have fallen in love with an Amy Butler Love fabric Jelly roll (so much so I have 2);
3) I have a copy of the new Amy Butler Style Stitches Book;
4) I have purchased a copy of the Jelly Roll Quilts book by the ladies who run the Quilt Room in Dorking;
5) I went to my first Quilt Show with my sister; and
6) I visited the Knitting & Stitching Show at Alexandra Palace with my dear sister today.

I am sure that there is much more to say but there it is for now whilst I rest my weary legs from all the walking today!

Friday, 18 June 2010

Another week, new fabrics


So another week has past. My birdie sample is complete so I have begun work on my full sized version.

So far there have been a few teething problems. I cut the white fabric for the background panels wrong so instead of being able to cut out six panels from it, I have only been able to cut out four. On the bright side you always need white fabric so the fabric left over will be used up in future projects I am sure.

Most recent mistake was with the brown border fabrics. I ordered a fat quarter of brown roman glass fabric by Kaffee Fassett. It arrived and although I did not think it was brown enough I really like it so am planning to use it. It crossed my mind that one fat quarter may not be enough so I ordered some more when I was ordering some fabric for another project (more about the other project later). However the fabric arrived and is not the same as the original fat quarter. I am in two minds about what to do and which one to use.....I shall make up my mind when I have made up some of the panels.

I am pleased to say that I did complete the first panel today .... (photos later).... I have sewn on some yellow birds with blue wings, some leaves and I have departed from the pattern by embellishing the birds with some beads.

Tonight I will be taking a break from the birdie quilt and will be starting my Amy Butler tunic top project but that again involves a mistake...but this time not my own! I decided that I will make a top for myself but also a top for HM. We will have the same tops but I will use the Amy Butler Daisy Chain Wildflower fabric in turquoise for me and the same fabric but in rose for her.

The fabric arrived this morning. I checked the invoice to ensure I ordered the correct amounts and started to wash it....I was excited. I then hung it out on the washing line and discovered that instead of there being 2m of fabric for me and 1.5m of fabric for HM, there was 1.5m for me & 2m for HM. I called the retailer where I purchased the fabric from and she was lovely. I am sending the 1.5m back and the retailer will send me 2m in return and I will keep the other 2m as well.

Anyway it will all be sorted out and I can play with P watches the footie xxx

- Posted using BlogPress from my iPhone

Tuesday, 8 June 2010

Sorry for being a bad blogger.....


This week I have fallen in love (again) with Ann Marie Horner fabrics....this has stemmed from my newest quilting project....the Kathy Doughty "Holiday Morning" quilt or Birdie quilt as I am calling mine. Its from Material Obsession by Kathy & her friend Sarah Fielke. It is described as being an Intermediate quilt & there is quite a bit of applique using foil which I have never attempted before.

The book gives instructions to make a wall hanging sized quilt but I think I might increase the size by making it with 9 panels instead of the 4 described so that it is big enough for a bed. Firstly have I chosen my fabrics, which I purchased from Fabric Rehab (very pleased with the speed of delivery). I chose a variety of different designs but one of them was the Citrus Little Folks Flower. I was amazed by how soft and beautiful this fabric felt (wished I had bought more than a Fat Quarter). I still needed some blue and more brown for the borders so I have also ordered some more Little Folks fabric in blue and pink (not sure what the pink is for but if its as soft as the citrus, then I just have to have it!).

Anyway that explains my renewed love of Ann Marie Horner fabric...now back to the birdie quilt! Before embarking on the new applique technique & cutting into my lovely new fabrics - I decided to make a small sample birdie panel out of my scraps that I had lying around. I squared off a panel of plain white fabric and sewed a few strips of brown fabric together which could be used for branches and trunks. Then, against all instinct I cut vertically through the panel of white and then cut the panel halves horizontally at different angles - I then sewed them all back together again with the brown branches and trunk in between as see in the photos.

For the applique I traced the shapes onto greaseproof paper & then on to card, cut them out and used the card templates to mark the shapes on to the fabric for birds and leaves. The shapes were then cut out with a scant 1/4 seam allowance added on. Next was to cut out foil shapes, slightly bigger than the fabric shapes.

Now the fun! Following the book instructions I had to place the card shape on top of the fabric (right side down) and then place the stack on top of the foil. Gently fold the foil up & over the fabric & the card & finger press the creases in. It said not to iron as you end up with points on the creases around curved edges on the shapes but in doing this I found it very fiddly to pin the shape to the panel. I did resort to using the iron and found that if I was careful to pin so as not to get points, the shape was much easier to pin to the fabric. I then used slip stitch or blind stitch to attach the shape to the white panel. The final step was to cut away the white fabric underneath the shape - the idea being that there is less fabric to sew through when you get to the quilting stage.

So that is as far as I have got with the sample - now I need to add a border & wadding and then I am going to have a go at hand quilting the sample before attaching a backing fabric and perhaps some binding...it might even be good enough for a present for someone....anyway there are some photos of my work so far for you to take a look at.

I must also say that apart from this project I have not been idle but have neglected to take photos of my other creations....I have made a set of Amy Butler stash bags using the Amy Butler fabric shown in a previous post, I have also made an iphone pouch and a Tilda Doll for HM. I promise to take some snaps & upload them when I get the chance.

As for the rest of the week ahead, dearest PM is off on his annual boys jolly (which he denies as being a holiday) so I will be home alone looking after the Twins, HM, the rabbit & the cat....so plenty of time for sewing projects & spending time with my sister too...happy days xxx


Monday, 24 May 2010

slow progress


Apologies for not having updated my blog for so long - its been a busy & hot week!

Tuesday - my order from Saints & Pinners arrived - very quick indeed so I received my Amy Butler fat quarters & stash bag pattern (I had decided to have a go at these before attempting some of the clothing patterns that I have my eye on!). During the day I took the Twins to Bluewater - HM needed a new school summer dress & the Twins needed swimming trunks for holiday. I took the opportunity to pop into John Lewis whilst I was there to have a look at their range of fabrics. I was pleasantly surprised to see they stocked Amy Butler & Tanya Whelan fabrics....an Amy Butler tunic pattern happened to find itself a new owner & came home with me too :-)

So got home but no time to play but I did manage to fit in some jam making - my best raspberry jam got made whilst doing dinner for the Twins....yummm.

Wednesday came and I took the boys over to see my sister & her two monkeys. She lives near to Ikea so we went there to have a look at the fabric. Unfortunately the fabric that I had liked the look of was not on the shelf but the range of fabric was a fair size and some of it was rather nice. I purchased some grey and some off-white patterned fabric which I intend to use for the napkins and table runner for Grandma. The pricing was also good - about £4 per metre but they have an odd system there - you choose the fabric - cut the amount you want off the bolt itself and then a member of staff weighs it and prices it up!

Thursday came & went - it was not very memorable but I think that was the day I made some chocolate cupcakes (see pics)...I also ordered the Sewing book by Alison Smith (I had a flick through it in WH Smiths over at Bluewater on Tuesday but I didn't want to pay £25 for it). Amazon had the book available for £15.

Friday - I managed to cut the fabric for the napkins and pin them - this was a big job in itself & took ages as the pieces were so large. I think it took me nearly 2 hours to cut the 12 squares required! In the evening I managed to get out into the garden and plant up some of the summer plants which had been growing happily in the mini greenhouse.

Saturday was a family day - we all went to Homebase to get compost & more plant pots & also to Pets at Home to get the cat some food. After that we went to see Nanny & the children played with their Cousins in the garden. Our Mr J terrified us all by standing up and letting go on the top of Nanny's big slide! There was more gardening to be done once we got home but then we had the treat of going out for dinner (minus children) so no time for sewing.

On Sunday we were blessed by really hot sunny weather....we spent the day with my sister & the children splashed around in the paddling pool. By the time we got home they were all tired out but once they were in bed I set about continuing the napkin project. I sewed the napkins using the same method I had for my trial run. I got the seams all sewn, turned them the right way round and then got the stitching done around the edges - job done...now I need to plan the table runner...I shall have to get a bit more fabric to contrast with the Ikea fabric but that is for another day.

So far to day I have had the pleasure of cutting out the fabric ready to make the Amy Butler coin purse from the stash bag pattern. P is out tonight so once the boys are in bed I can start sewing...yes, it was hard but I did cut through the beautiful fabric...sigh....xxx


Monday, 17 May 2010

New projects & New challenges


Sorry for the lack of blogging yesterday but don't worry, even though it was fairly busy there was no lack of craft!

As you saw I had completed the latest wall hanging and was ready for my next project - a small coin purse for HM. I was adventuring into the world of zips.....

I had picked up a cheap zip from the haberdashery shop in the town earlier in the week - they only had blue so that restricted my fabric choices (also my stash is beginning to run a little low so that limited my choices also). I had some pretty floral blue fabric left from making some birds and mice so I chose that.

I had directions to follow from the most recent issue of Sew Hip Magazine - I had read through them a few times before embarking on this project - I think this is important so you are familiar with what you need to do & so you can follow the process through in your head. The instructions were easy to follow & the whole project too me a maximum of 2 hours...I thought this was quick even for me (also kidding myself that this is evidence that my sewing skills are improving lol).

The only tricky part was the zip - the instructions in the magazine differed to the instructions in my sewing machine manual - I followed the magazine instructions as they were more simple & in the end it turned out ok. Overall - a nice quick project for learning the basics for sewing in a zip & I am pleased with how it turned out.

Sunday:

Now that I had completed the coin purse I was free to turn my hand to another project...this time a doorstop for HM's room. Again this project was from Sew Hip.

I had acquired a few pieces of felt and some suede-type material from my Great Aunt so I thought these would be perfect for this project. The doorstop instructions were easy to follow & there was a pull-out paper pattern inside the magazine. The doorstop was to be in the form of an owl - lovely for children & could be easily converted into a soft toy. The whole project again took 2 hours from start to almost finish - I still need to find something heavy enough to put inside so that it holds the doors in our house open as we have self-closing doors. I also used my machine blanket stitching skills from the wall hanging project to add detail to the appliqué feathers on the front of the owl - I promise to post pics when it is finally completed!

Today:

It was an early start today - I had to take HM to school with the Twins in tow as P was taking my car in for its annual service. Luckily I managed to get my ironing done before leaving for school so when I put the Twins down for their mid-morning nap I was free to craft!

I had decided that I would make some napkins & perhaps a table runner for Grandma's birthday & christmas. I found a guide a few weeks ago & thought this morning would be a great time to make up a trial version using some scraps that I had laying about. I found some creamy coloured cotton & a dark creamy/floral cotton which could be teamed together. However I did not really have a suitable coloured thread so I opted for a bright pink thread so that the stitching would be highlighted.

Again it was another easy project - 1 hour at the most. I cut out a rectangle of each fabric measuring 16" x 13' - sewed them together - right side facing each other & leaving a gap of about 4' along one edge for turning. I trimmed the corners before turning & then carefully pressed the fabric on the right sides before using the 1/4" foot to add the seams on the right sides of the fabric. I then added some embroidery on my machine for a bit of fun.

I am pleased with how the napkin turned out & will definitely make a set for Grandma - its just a case of choosing the correct fabric for her now!

Also - did I mention that I placed an order at Saints & Pinners in readiness for a future project?....shussshhhh - just don't tell P :-)

Saturday, 15 May 2010

The finished article


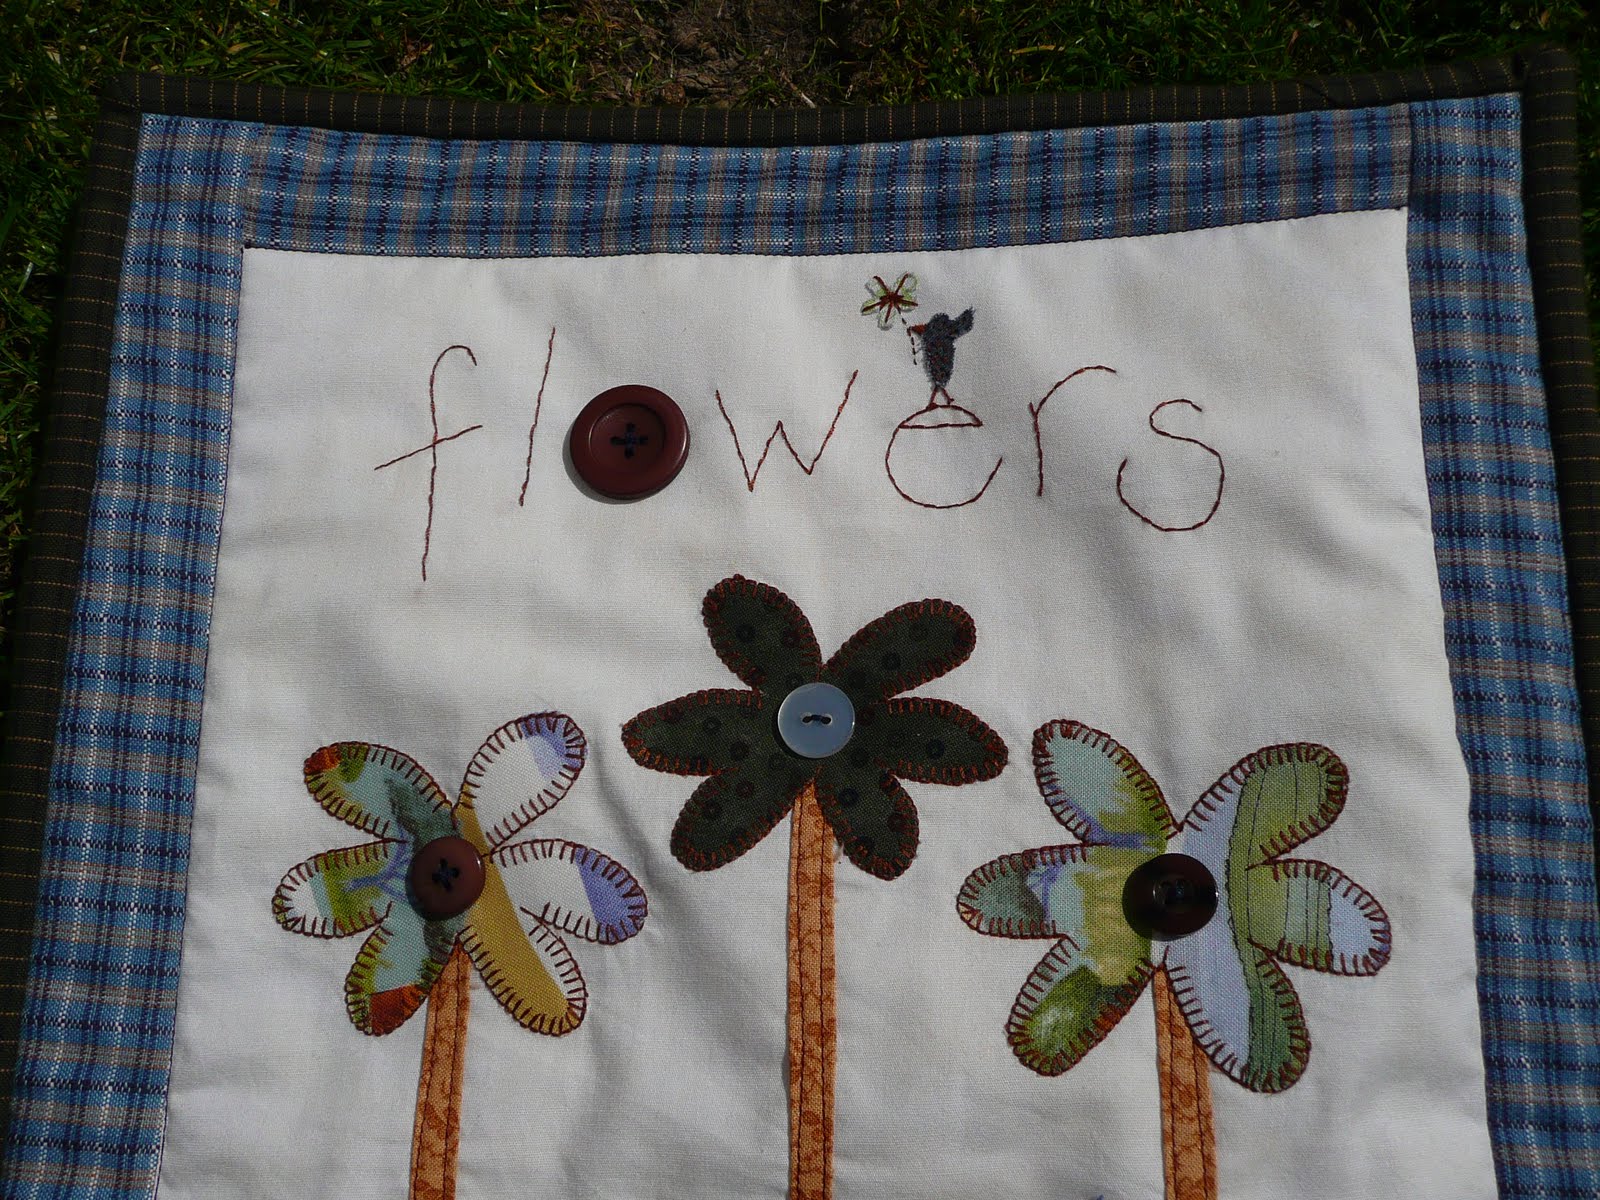
So the wall hanging is completed.....hurrah....I took these pics in the garden as the sun was shining for a change & Bluebell the rabbit decided to get in on the action!